I remember the first time I tried upgrading my vehicle’s audio system. The factory stereo felt outdated, and I craved modern features like touchscreen controls and Bluetooth connectivity. But the maze of wires, unfamiliar tools, and fear of damaging my dashboard left me overwhelmed. Sound familiar? That’s why I’m here—to simplify what seems complex.
Over the years, I’ve learned that success hinges on preparation. Choosing compatible components—like wiring harnesses or dash kits—is just as critical as the physical installation. One wrong connection, and you risk frying circuits or rattling panels. But don’t worry: I’ll break down each step so clearly, you’ll feel like you’re working beside me.
This guide isn’t just about swapping parts. It’s about empowering you to enhance your driving experience without sacrificing your vehicle’s sleek interior. Whether you’re a weekend DIYer or a seasoned tinkerer, you’ll find actionable insights tailored to your skill level. Let’s turn frustration into confidence, one screwdriver twist at a time.
Key Takeaways
- Identify essential tools and components before starting
- Avoid common wiring mistakes with pre-tested solutions
- Adapt techniques to your specific vehicle model
- Maintain factory aesthetics during reassembly
- Gain confidence through clear, jargon-free instructions
Preparing for Your Car Multimedia Player Installation
Early in my upgrade journey, I discovered that success begins long before touching a screwdriver. Compatibility research separates smooth projects from costly do-overs. Your exact model year and trim package dictate every component choice—from wiring interfaces to dashboard adapters.
Gathering Essential Parts and Tools
For my Pioneer AVH-2500NEX stereo, the Metra 70-5521 wiring harness became the nervous system of the project. Without it, factory steering wheel controls would’ve stopped working. The Metra 40-CR10 antenna adapter preserved AM/FM reception—a detail many overlook until static ruins their drive.
Vehicles with premium audio need extra attention. My factory subwoofer required the Axxess AFDI-5V converter to avoid distortion. The Metra 95-5812 dash kit? It turned a blank dashboard space into a perfect Double DIN home for the new stereo.
Reviewing Vehicle-Specific Requirements
I always order parts three weeks early. Why? The Metra harness for my specific vehicle had a two-week backorder once. That delay became valuable prep time to study wiring diagrams.
Double-check every component against your VIN. What works for a 2020 F-150 might fail in a 2021 model. Online fitment tools help, but calling manufacturers directly avoids guesswork. One mismatch could mean dismantling your interior twice.
Disassembling Your Car Interior for Installation
Navigating dashboard disassembly feels like solving a 3D puzzle where every piece connects to another. Through trial and error, I developed a methodical approach that preserves trim panels and prevents snapped clips. Let’s explore the strategic steps that keep your interior intact.

Removing Center Console Trim Panels
Start by locating the two bolts removed most often in modern vehicles—usually hidden under rubber caps near cup holders. After extracting them, grip the center console trim piece firmly at its base. Pull upward evenly to release clips without bending the panel.
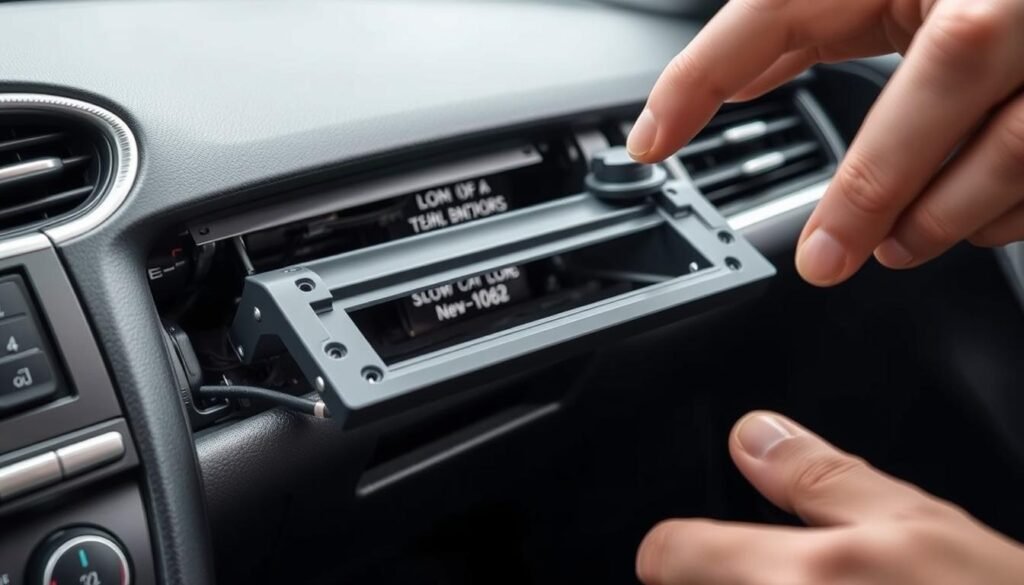
Some panels held by tension clips require angled pressure. For the stereo housing, position a trim tool under the top edge. Apply upward pressure until you hear three distinct clicks—the sweet spot where clips release. Then pivot downward to free the lower section.
Safely Disconnecting Connectors and Bolts
Before fully removing any trim piece, trace its perimeter for wiring harnesses. I’ve found connectors for climate controls or hazard lights tucked behind seemingly simple panels. Depress each connector’s locking tab completely before pulling—forcing them risks broken pins.
The factory stereo typically hides behind four 10mm bolts. Keep a magnetic tray nearby—dropped fasteners behind dashboards become expensive maracas. When disconnecting the main harness, support the unit’s weight to prevent strain on delicate connectors.
Remember: panels that need pull force often conceal fragile components. Work like a watchmaker—steady hands win this race. With these techniques, you’ll access the mounting area without leaving telltale scratches or cracks.
Wiring Harness Setup and Installation
When I first connected a wiring harness, I assumed color matching was enough—until my stereo went silent halfway through a road trip. Now I treat every connection like a surgical procedure. Precision here determines whether your upgrade sings or sputters.
Start by laying out the main harness and radio instructions side by side. Most manufacturers color-code wires identically, but I’ve seen exceptions. A 2021 Ford Escape required swapping purple and gray speaker wires despite matching diagrams.
Choosing Between Soldering and Crimping
Butt connectors work for quick fixes, but vibrations test their limits. During a cross-country move, my crimped subwoofer wires shook loose—silencing bass lines for 300 miles. Soldering creates bonds that withstand temperature swings and rough roads.
| Method | Durability | Time Required | Skill Level |
|---|---|---|---|
| Soldering | 10+ years | 45 minutes | Intermediate |
| Crimping | 3-5 years | 15 minutes | Beginner |
| Twist Caps | 5 minutes | Novice |
Matching Wire Colors and Following Diagrams
My Kenwood Excelon’s wire harness had three red wires—one constant power, one switched, one illumination. The diagram clarified their roles. Always test with a multimeter before finalizing connections.
For factory subwoofers, I also needed a step-down converter. This prevents distortion by matching voltage levels between new stereos and existing components. Tuck converters into non-metallic spaces to avoid interference.
Before reassembly, make sure all connections lie flat. Bulky joins can prevent proper stereo seating. Wrap each solder point with heat-shrink tubing—electrical tape degrades over time.
Integrating Additional Wiring Components and Accessories
Years ago, I overlooked a crucial step while connecting auxiliary components—only to face crackling radio static during a client demo. Now I treat these final connections with military precision. Each accessory wire serves a unique purpose, demanding strategic placement and testing.

Installing the Antenna Adapter and Microphone
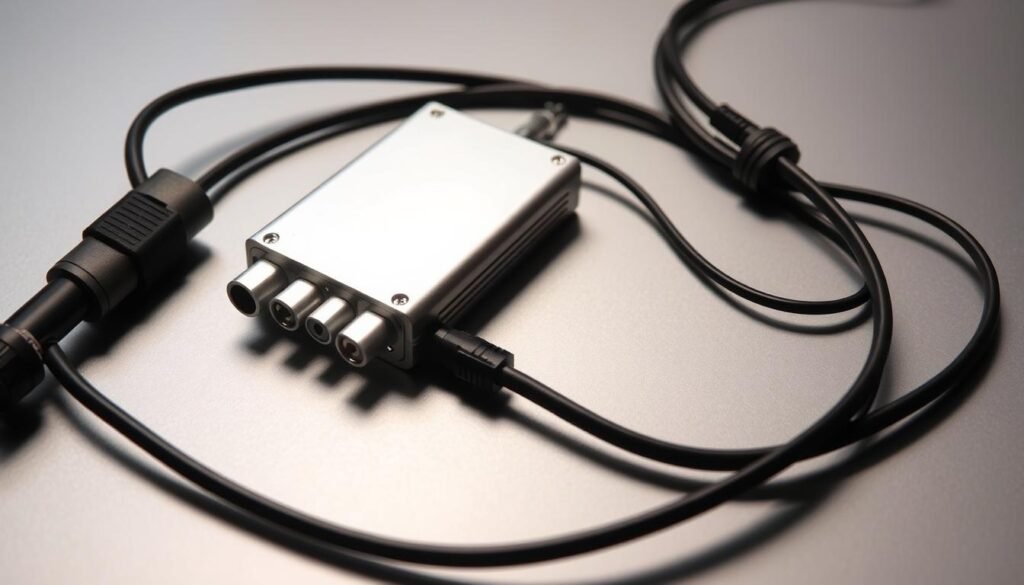
The antenna adapter bridges old and new tech. Plug one end into the factory antenna wire—it usually snaps with satisfying click. Route the other end toward the stereo cavity, leaving slack for final connections. For microphones, I prefer mounting near the driver’s visor. This placement captures voice clearly without windshield echo.
“Proper wire routing isn’t just aesthetics—it’s noise prevention. Follow factory channels whenever possible.”
Routing Parking Brake and Subwoofer Wires
Parking brake wires enable Android Auto safety protocols. Trace the brake switch wiring under the dashboard. Use a multimeter to confirm voltage changes when engaging the brake. Route this wire alongside existing harnesses using split-loom tubing.
| Routing Tool | Purpose | Install Time |
|---|---|---|
| Trim Removal Kit | Panel access | 8 minutes |
| Fish Tape | Wire guidance | 5 minutes |
| Split-Loom Tubing | Protection | 3 minutes |
Subwoofer lines need shielded cables. I also need to avoid parallel runs with power wires—cross them at 90° angles if necessary. Test every connection before reassembly. A buzzing speaker often reveals ground loop issues.
Remember: need plug adapters firmly. Loose connections haunt night drives with intermittent failures. Spend extra time securing each junction with zip ties or adhesive clips.
Installing the Dash Kit and Ensuring a Finished Product Look
Nothing ruins a sleek interior faster than a misaligned dash kit. I learned this after installing a Pioneer unit in my Honda Accord—the gaps between the kit and dashboard screamed “DIY job.” Now I treat this phase like assembling fine furniture.
Positioning the Dash Kit Accurately
The manual that comes with your kit isn’t optional reading. My Metra 99-7807B required rotating mounting tabs clockwise before insertion—a detail buried on page 4. Test-fit components three times: once bare, once with the stereo, and finally with wiring connected.
Align the dash kit stereo frame using factory screw holes as guides. If edges protrude, check for hidden clips. For tight fits, I slide business cards between the kit and dashboard to equalize pressure points.
Securing the Kit with Provided Screws
Those screws that come with your stereo matter more than you think. Generic hardware can strip plastic threads—I’ve seen kits wobble loose within weeks. Hand-tighten diagonally opposite screws first, then torque evenly.
Avoid overtightening. The sweet spot? When the screwdriver starts resisting but hasn’t fully stopped. This preserves thread integrity while preventing warping. Wipe fingerprints off the finished product with microfiber cloths—they reveal alignment issues under glare.
Final check: Run your palm across seams. Any catching edges mean rework. The dash kit should feel as seamless as your original trim. That’s when you know you’ve nailed the factory look.
Executing car multimedia player installation
The last phase of any audio upgrade tests both patience and precision. I once skipped this critical step—only to discover a ⅛-inch gap after completing all wiring. Now I treat test fitting like a dress rehearsal for flawless performance.
Conducting a Dry Run with Components
Slide the stereo into its slot without connecting wires. Use two temporary screws to hold it steady—this mimics the final position without commitment. I’ve found mismounted brackets often reveal themselves here, saving hours of rework later.
Reattach surrounding trim panels completely. Run your fingernail along seams—any snag points signal alignment issues. My 2022 Ram 1500 required shaving 2mm off a dash kit edge during this check.
Assessing Visual Integration Quality
Natural light exposes fit flaws better than workshop LEDs. Walk around the vehicle, viewing angles from driver and passenger seats. Consistent 2mm gaps around the stereo installed unit indicate success. Wider spaces demand bracket adjustments or kit replacements.
If everything aligns, document the setup with photos before disassembly. These references prove invaluable during final install stereo steps. Remember: This verification pass separates professional-grade results from amateur-hour frustrations.
